

The Ultimate Guide to Propagating Anubias: How to Multiply Your Plants for Free
One of the most rewarding skills in the aquarium hobby is learning how to propagate your own plants. Not only does it allow you to fill out your aquascape without spending more money, but it’s also a sign of a healthy, thriving ecosystem. Anubias, with its thick, robust rhizome, is one of the easiest and most reliable plants to propagate. This ultimate guide will provide you with a safe, step-by-step method to divide your Anubias and multiply your plants for free.
Understanding Anubias Anatomy: The Rhizome
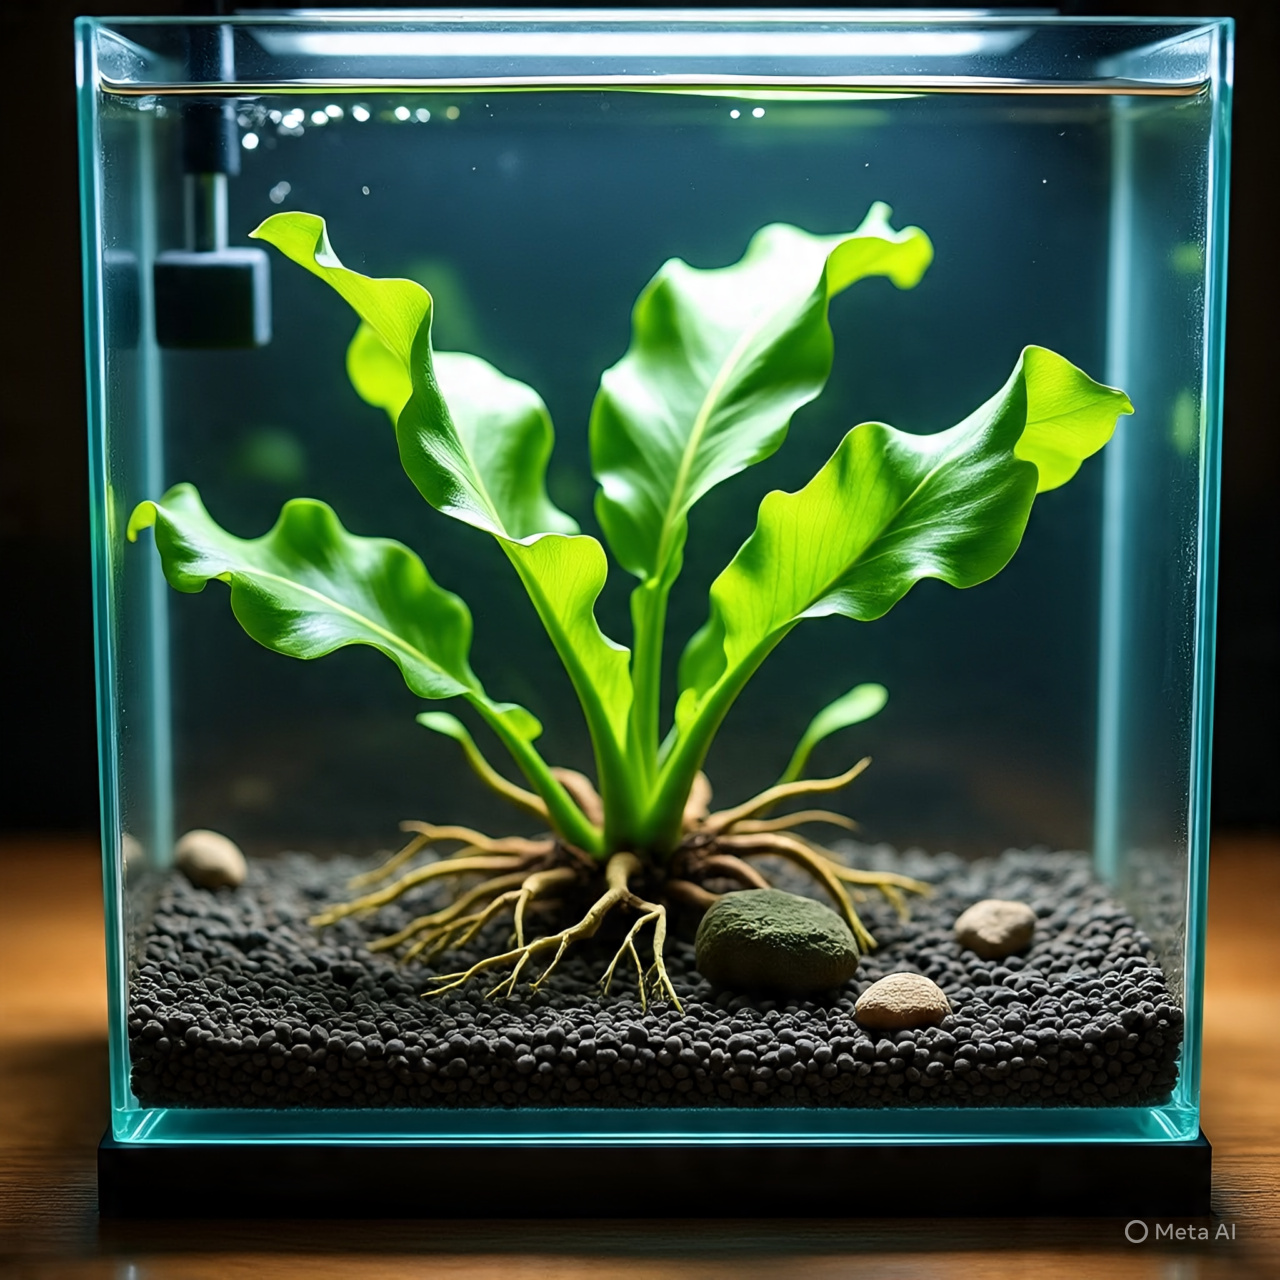
Before you make a single cut, it’s essential to understand how an Anubias grows. The entire plant is built around the rhizome. This is the thick, horizontal stem that looks like a creeping root. The leaves grow upwards from the top of the rhizome, and the actual, thinner roots grow downwards from the bottom.
The rhizome is the lifeblood of the plant. It stores energy and nutrients, and it’s where all new growth originates. Our entire propagation method is based on safely dividing this rhizome. This is also why the number one rule of Anubias care, as detailed in our guide on how to plant Anubias correctly, is to never bury the rhizome.
When is Your Anubias Ready to be Propagated?
Patience is key. Attempting to divide a plant that is too small or not well-established is a common mistake that can lead to both the cutting and the mother plant struggling or dying.
- Look for Size and Maturity: Your Anubias should be large and healthy, with a long rhizome that has at least 8-10 healthy leaves. A larger mother plant is more resilient and will recover from the “surgery” much faster.
- Check for Active Growth: A healthy rhizome will often have a lighter green or white tip, indicating the point of new growth. If the plant has been producing new leaves, it’s a great sign that it has enough stored energy to handle a division.
- Don’t Rush a New Plant: If you’ve just added the Anubias to your tank within the last few months, give it more time to acclimate and establish a strong root system before you consider propagating it.
The Propagation Method: Step-by-Step
This process is straightforward, but it requires a clean and decisive approach.
- Gather Your Tools: You will need a very sharp and sterile tool. A new single-edge razor blade is ideal. A sharp pair of high-quality aquascaping scissors can also work. A dull blade will crush the plant tissue and invite rot.
- Remove and Inspect the Plant: Gently take the Anubias out of your aquarium and place it on a clean, wet surface. Examine the rhizome and plan your cut. Identify a section you can remove that will have a minimum of 3-4 healthy leaves and a good chunk of rhizome.
- Make a Clean Cut: This is the most critical step. Make a single, firm, and clean cut through the rhizome. Do not use a sawing motion. The goal is to create a clean wound that can heal quickly.
- Inspect the Pieces: You should now have two separate, viable plants: the original mother plant (which is now slightly smaller ) and your new cutting. Both should have a healthy portion of rhizome and several leaves.
- Re-attach the Plants: Using aquarium-safe super glue gel or fishing line, attach both pieces back onto your driftwood or rocks. Ensure the cut ends of the rhizome are exposed to the water column to allow them to heal and prevent rot.
- Healing First, Growing Second: Both the mother plant and the new cutting will focus their energy on callousing over the wound. This can take a few weeks.
- Root Growth Before Leaf Growth: The new cutting will prioritize growing new anchor roots to secure itself. Seeing new, white, fuzzy roots emerge from the rhizome is the first sign of a successful propagation.
- Patience for New Leaves: It may be a month or more before you see the first new leaf sprout from your cutting. This is completely normal. As long as the existing leaves remain healthy and green, the plant is doing well.