
Driftwood and Rock Mastery: How to Attach Anubias Safely
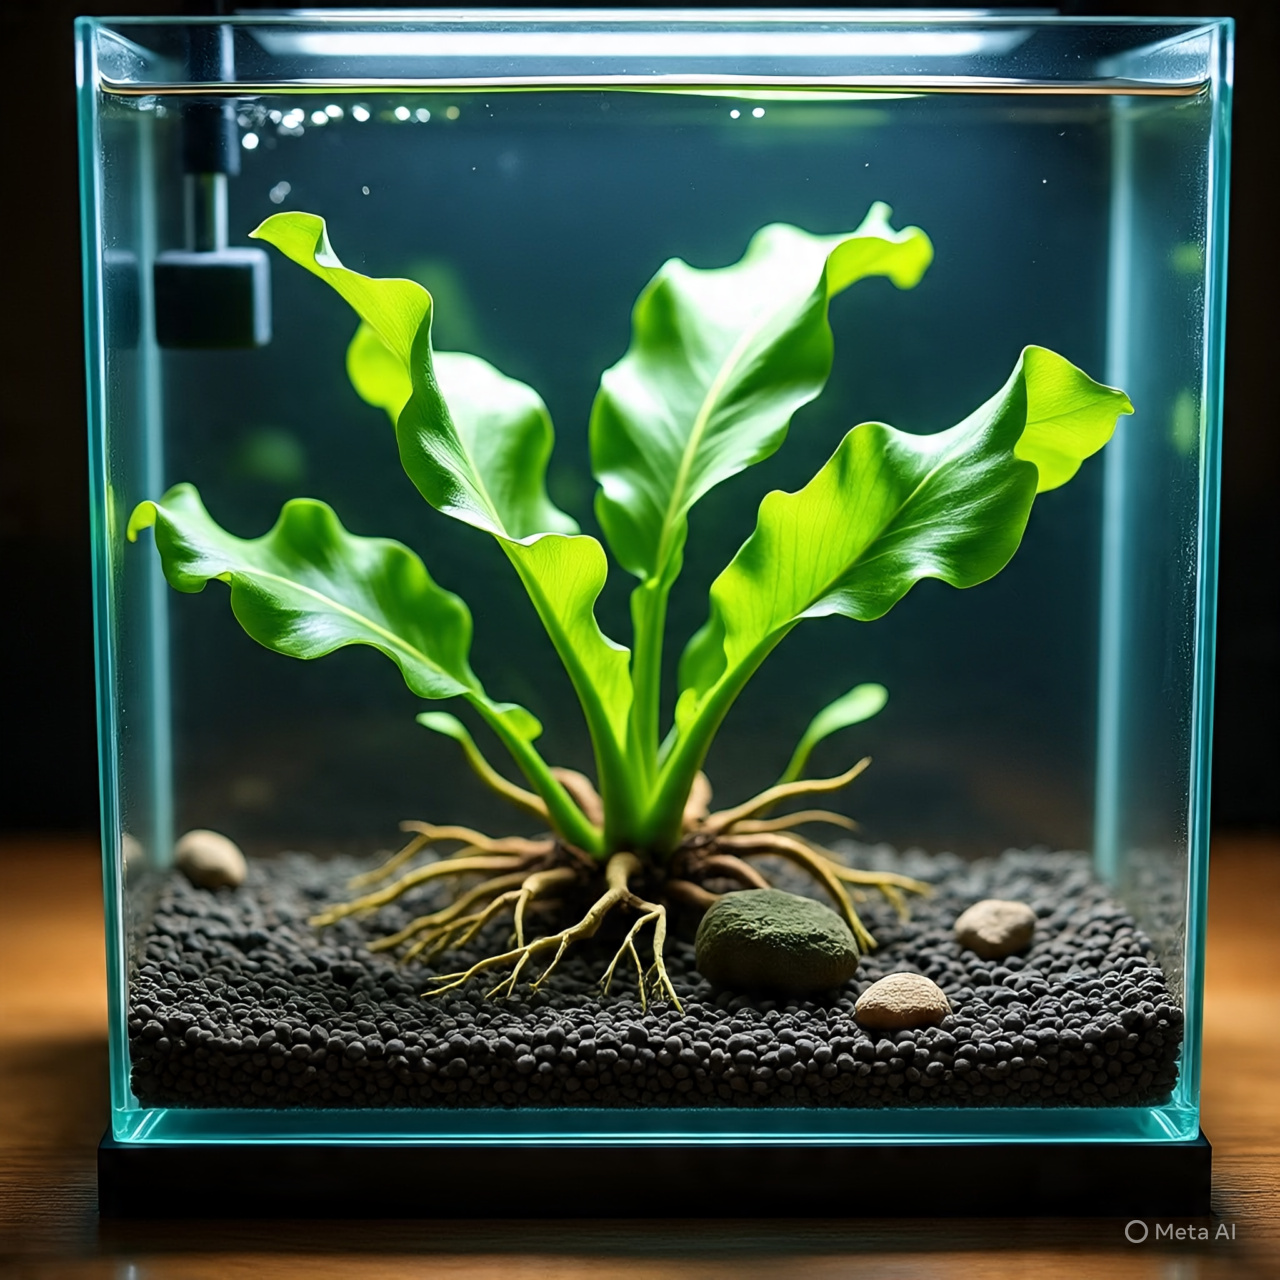
You’ve just brought home a beautiful Anubias plant, and you know the golden rule: don’t bury the rhizome. But that leads to the next critical question: what is the best way to attach it to your driftwood or rocks? A secure attachment is vital for the plant’s long-term health and for keeping your aquascape looking clean and intentional. A floating Anubias is a frustrating sight! This guide will provide you with two master methods for safely and securely attaching your Anubias, ensuring it stays put and thrives.
Why Attachment is Non-Negotiable
Anubias are epiphytes. In nature, their roots are not for feeding but for anchoring. They latch onto hard surfaces to avoid being swept away by river currents. Replicating this in the aquarium is essential. An unattached Anubias will float around, get damaged, and will never establish itself properly. The stress of being unsecured can inhibit its growth and make it more susceptible to health issues. This is why learning to attach it correctly is just as important as our guide on how to avoid planting it incorrectly.
Choosing Your Hardscape
Before you attach the plant, choose the right surface. Anubias will grip best onto textured, porous surfaces.
- Best Driftwood: Spiderwood, Manzanita, and other branching woods offer many nooks and crannies for roots to grip.
- Best Rock: Lava rock is the undisputed champion due to its highly porous and rough texture. Dragon stone and other textured rocks are also excellent choices.
- Challenging Surfaces: Smooth river stones can be used, but it will take much longer for the roots to get a firm hold.
Method 1: The Super Glue Gel Method (The Aquascaper’s Choice )
This is the fastest, easiest, and most popular method used by professional and amateur aquascapers alike. It creates an instant, invisible bond and is completely safe for all aquarium life when done correctly.
What You Need:
- Your Anubias plant
- Your chosen rock or driftwood
- A tube of Cyanoacrylate Super Glue GEL. It MUST be the gel formula. Regular, watery super glue will run and make a mess. Brand names like Loctite Gel Control or Gorilla Glue Gel are popular choices.
- A paper towel
Step-by-Step Instructions:
- Prepare Your Surfaces: Remove both the plant and the hardscape from the water. Decide exactly where you want to place the Anubias. Pat the attachment point on the rock or wood dry with the paper towel. A dry surface allows the glue to bond instantly.
- Apply the Glue: Apply a few small dabs of the gel glue to the underside of the Anubias rhizome. You do not need to cover the whole thing. A few pea-sized dots are plenty. Alternatively, you can apply the dots of glue directly to the dry spot on the hardscape.
- Press and Hold: Firmly press the rhizome onto the glued spot on the hardscape. Hold it securely for about 30 seconds. The gel will form a strong bond very quickly.
- Return to the Tank: You can now immediately and carefully place the entire piece back into your aquarium. The cyanoacrylate glue cures on contact with water and becomes 100% inert and safe.
Method 2: The Thread or Fishing Line Method (The Traditional Approach)
This classic method requires no glue and is just as effective, though it is more visible initially. It’s a great choice for hobbyists who are hesitant to use adhesives in their tank.
What You Need:
- Your Anubias plant
- Your chosen rock or driftwood
- A spool of dark-colored fishing line or 100% cotton thread (dark green or black is best to blend in).
- Scissors
Step-by-Step Instructions:
- Position the Plant: Place the Anubias in the desired position on your hardscape. Arrange the roots so they are in contact with the surface.
- Wrap and Secure: Take your thread or fishing line and begin wrapping it around the hardscape and over the rhizome. Make several passes to ensure the plant is held firmly in place. Be snug, but not so tight that you crush or damage the rhizome.
- Tie a Secure Knot: Once the plant is secure, tie a strong knot. A double or triple knot is recommended, especially with slippery fishing line.
- Trim the Excess: Use your scissors to snip off the long, trailing ends of the line or thread as close to the knot as possible.
Over the next few months, the Anubias will grow its own anchor roots, which will wrap around the hardscape and hold on by themselves. If you used cotton thread, it will eventually dissolve and disappear. If you used fishing line, you can leave it or carefully cut it away once the plant has secured itself.
The Verdict
Both methods are excellent and widely used. The Super Glue Gel method is faster and provides a cleaner, more immediate look. The Thread method is more traditional and avoids chemicals, but the line will be visible for a while. Whichever method you choose, attaching your Anubias correctly is a foundational skill that ensures your plant will not only survive but will become a beautiful, thriving, and permanent fixture in your underwater world.